2002 - 2009 (and now 2014+, kind of) Honda VFR 800 Interceptor Modification Page
Site Owner: Sean
Murphy
VFR@seantmurphy.com
Please be sure to visit our sponsors. They keep the lights on around here, thank you.

Make Your VFR a True Solo Seat
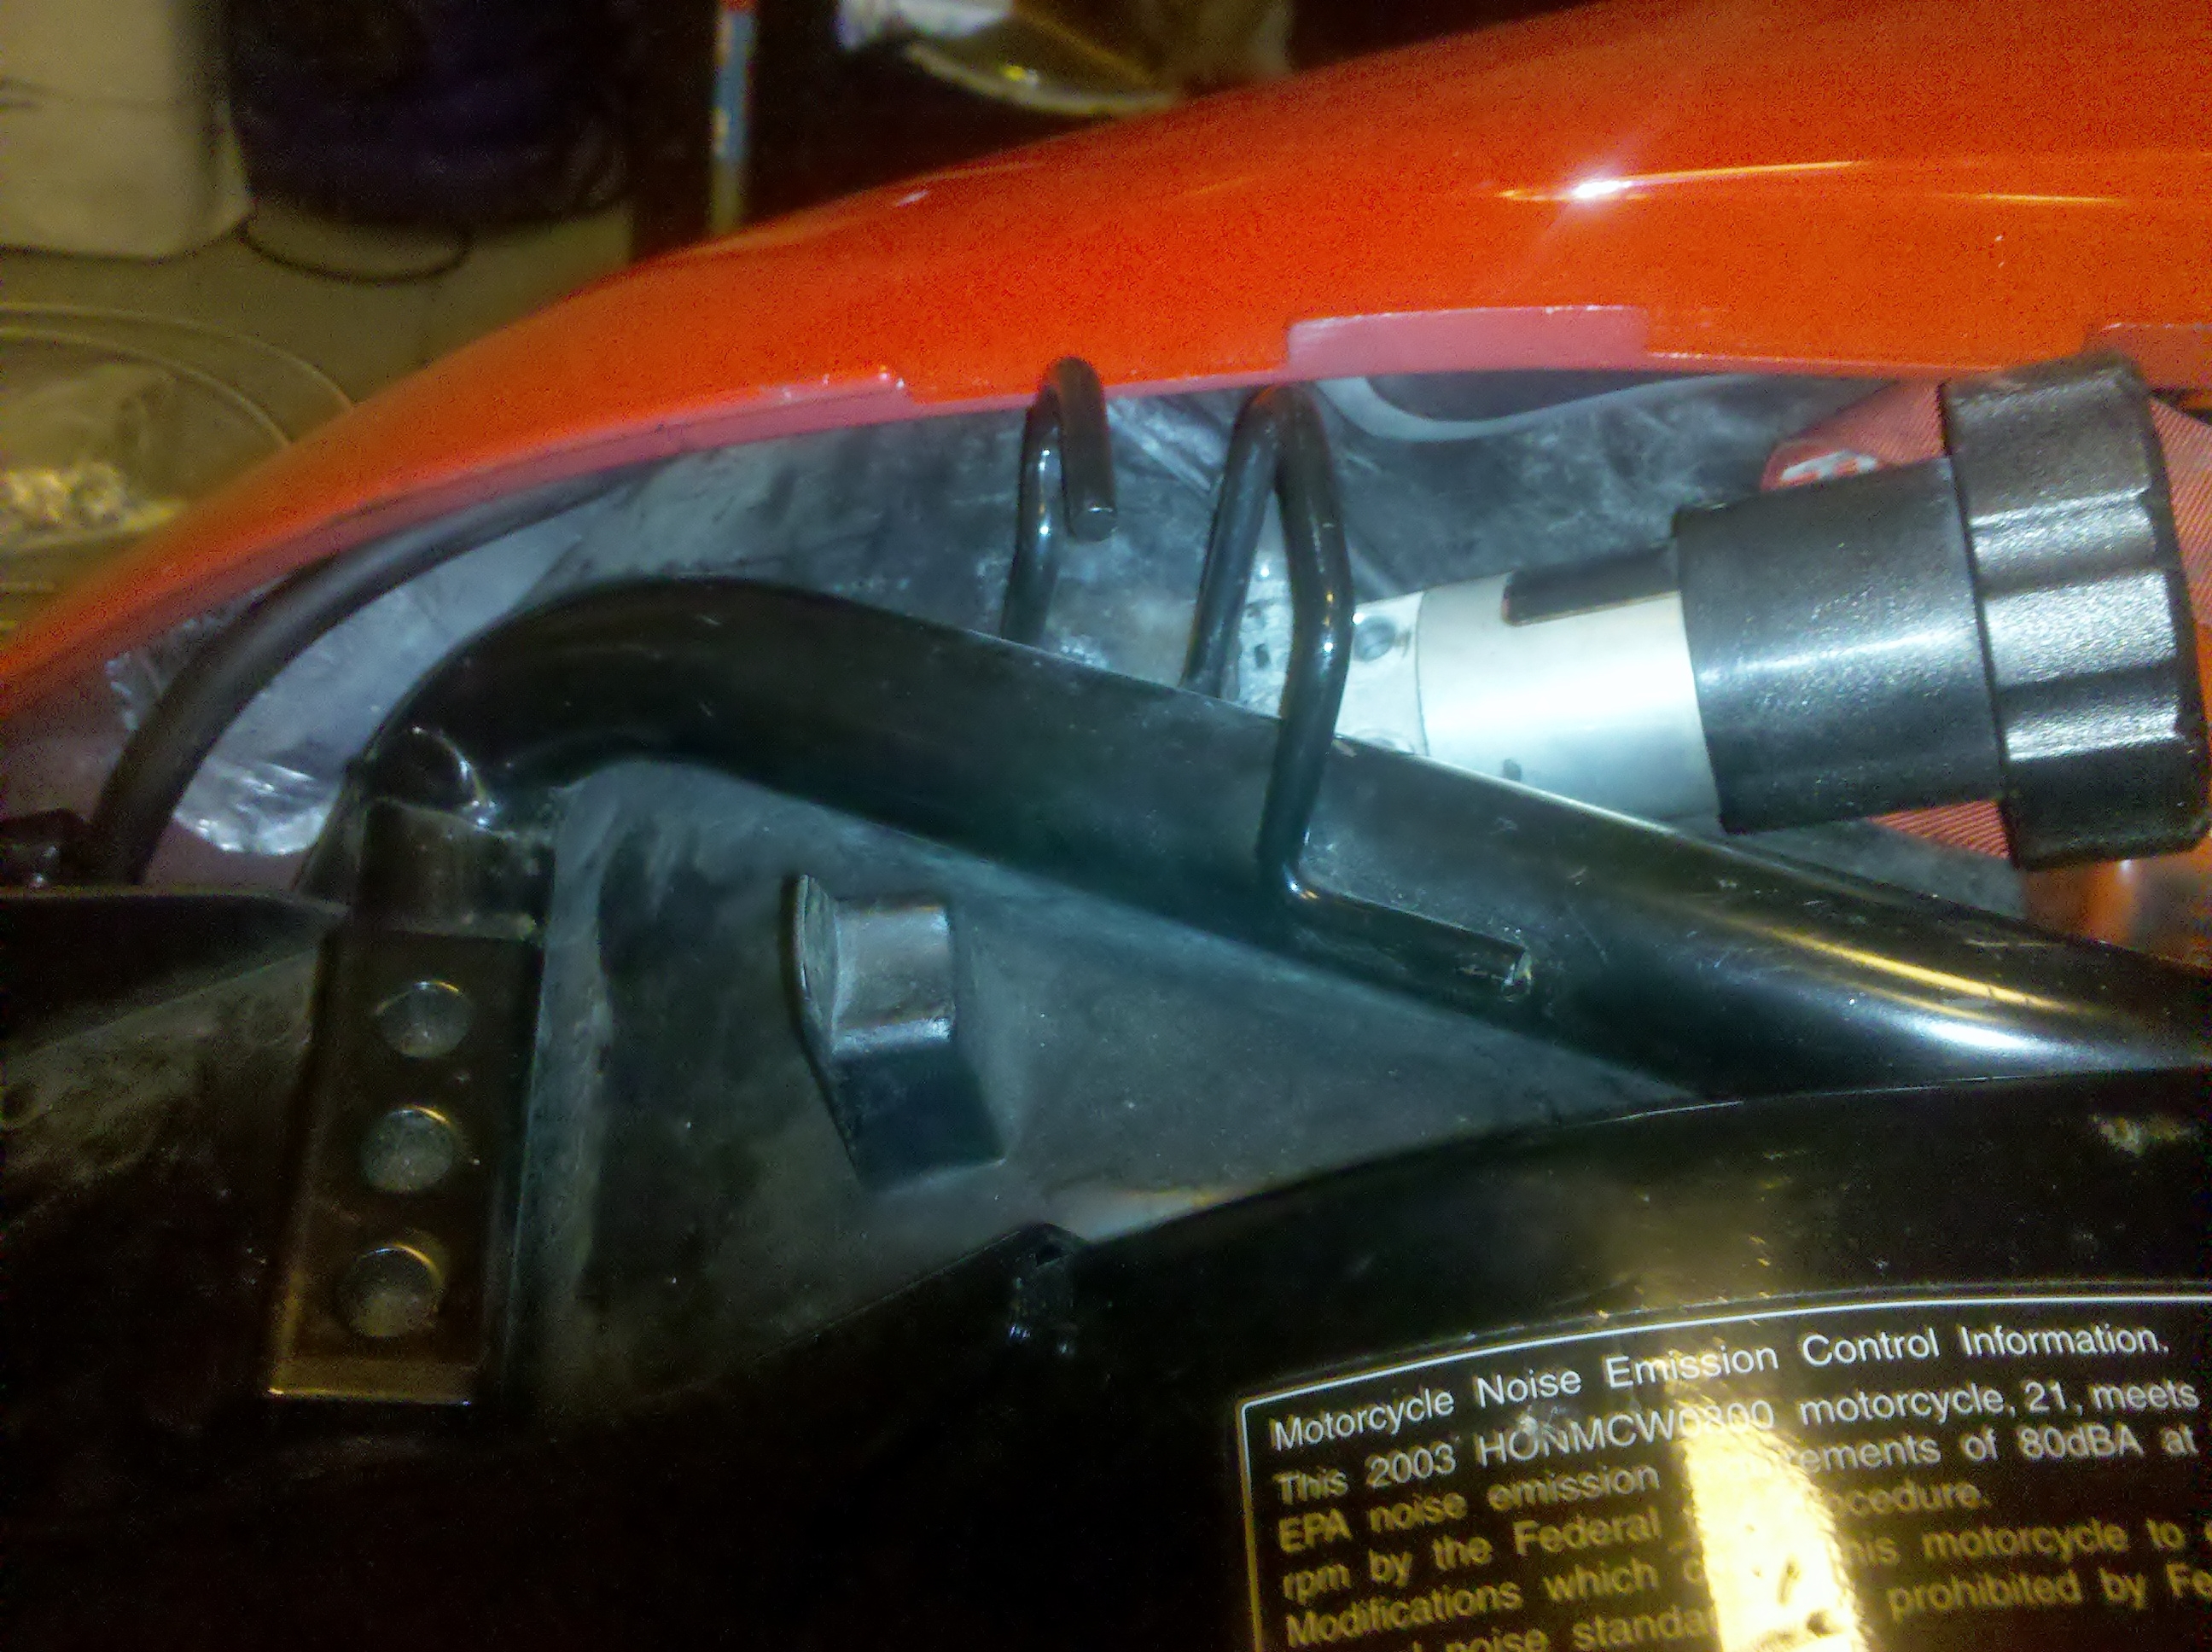
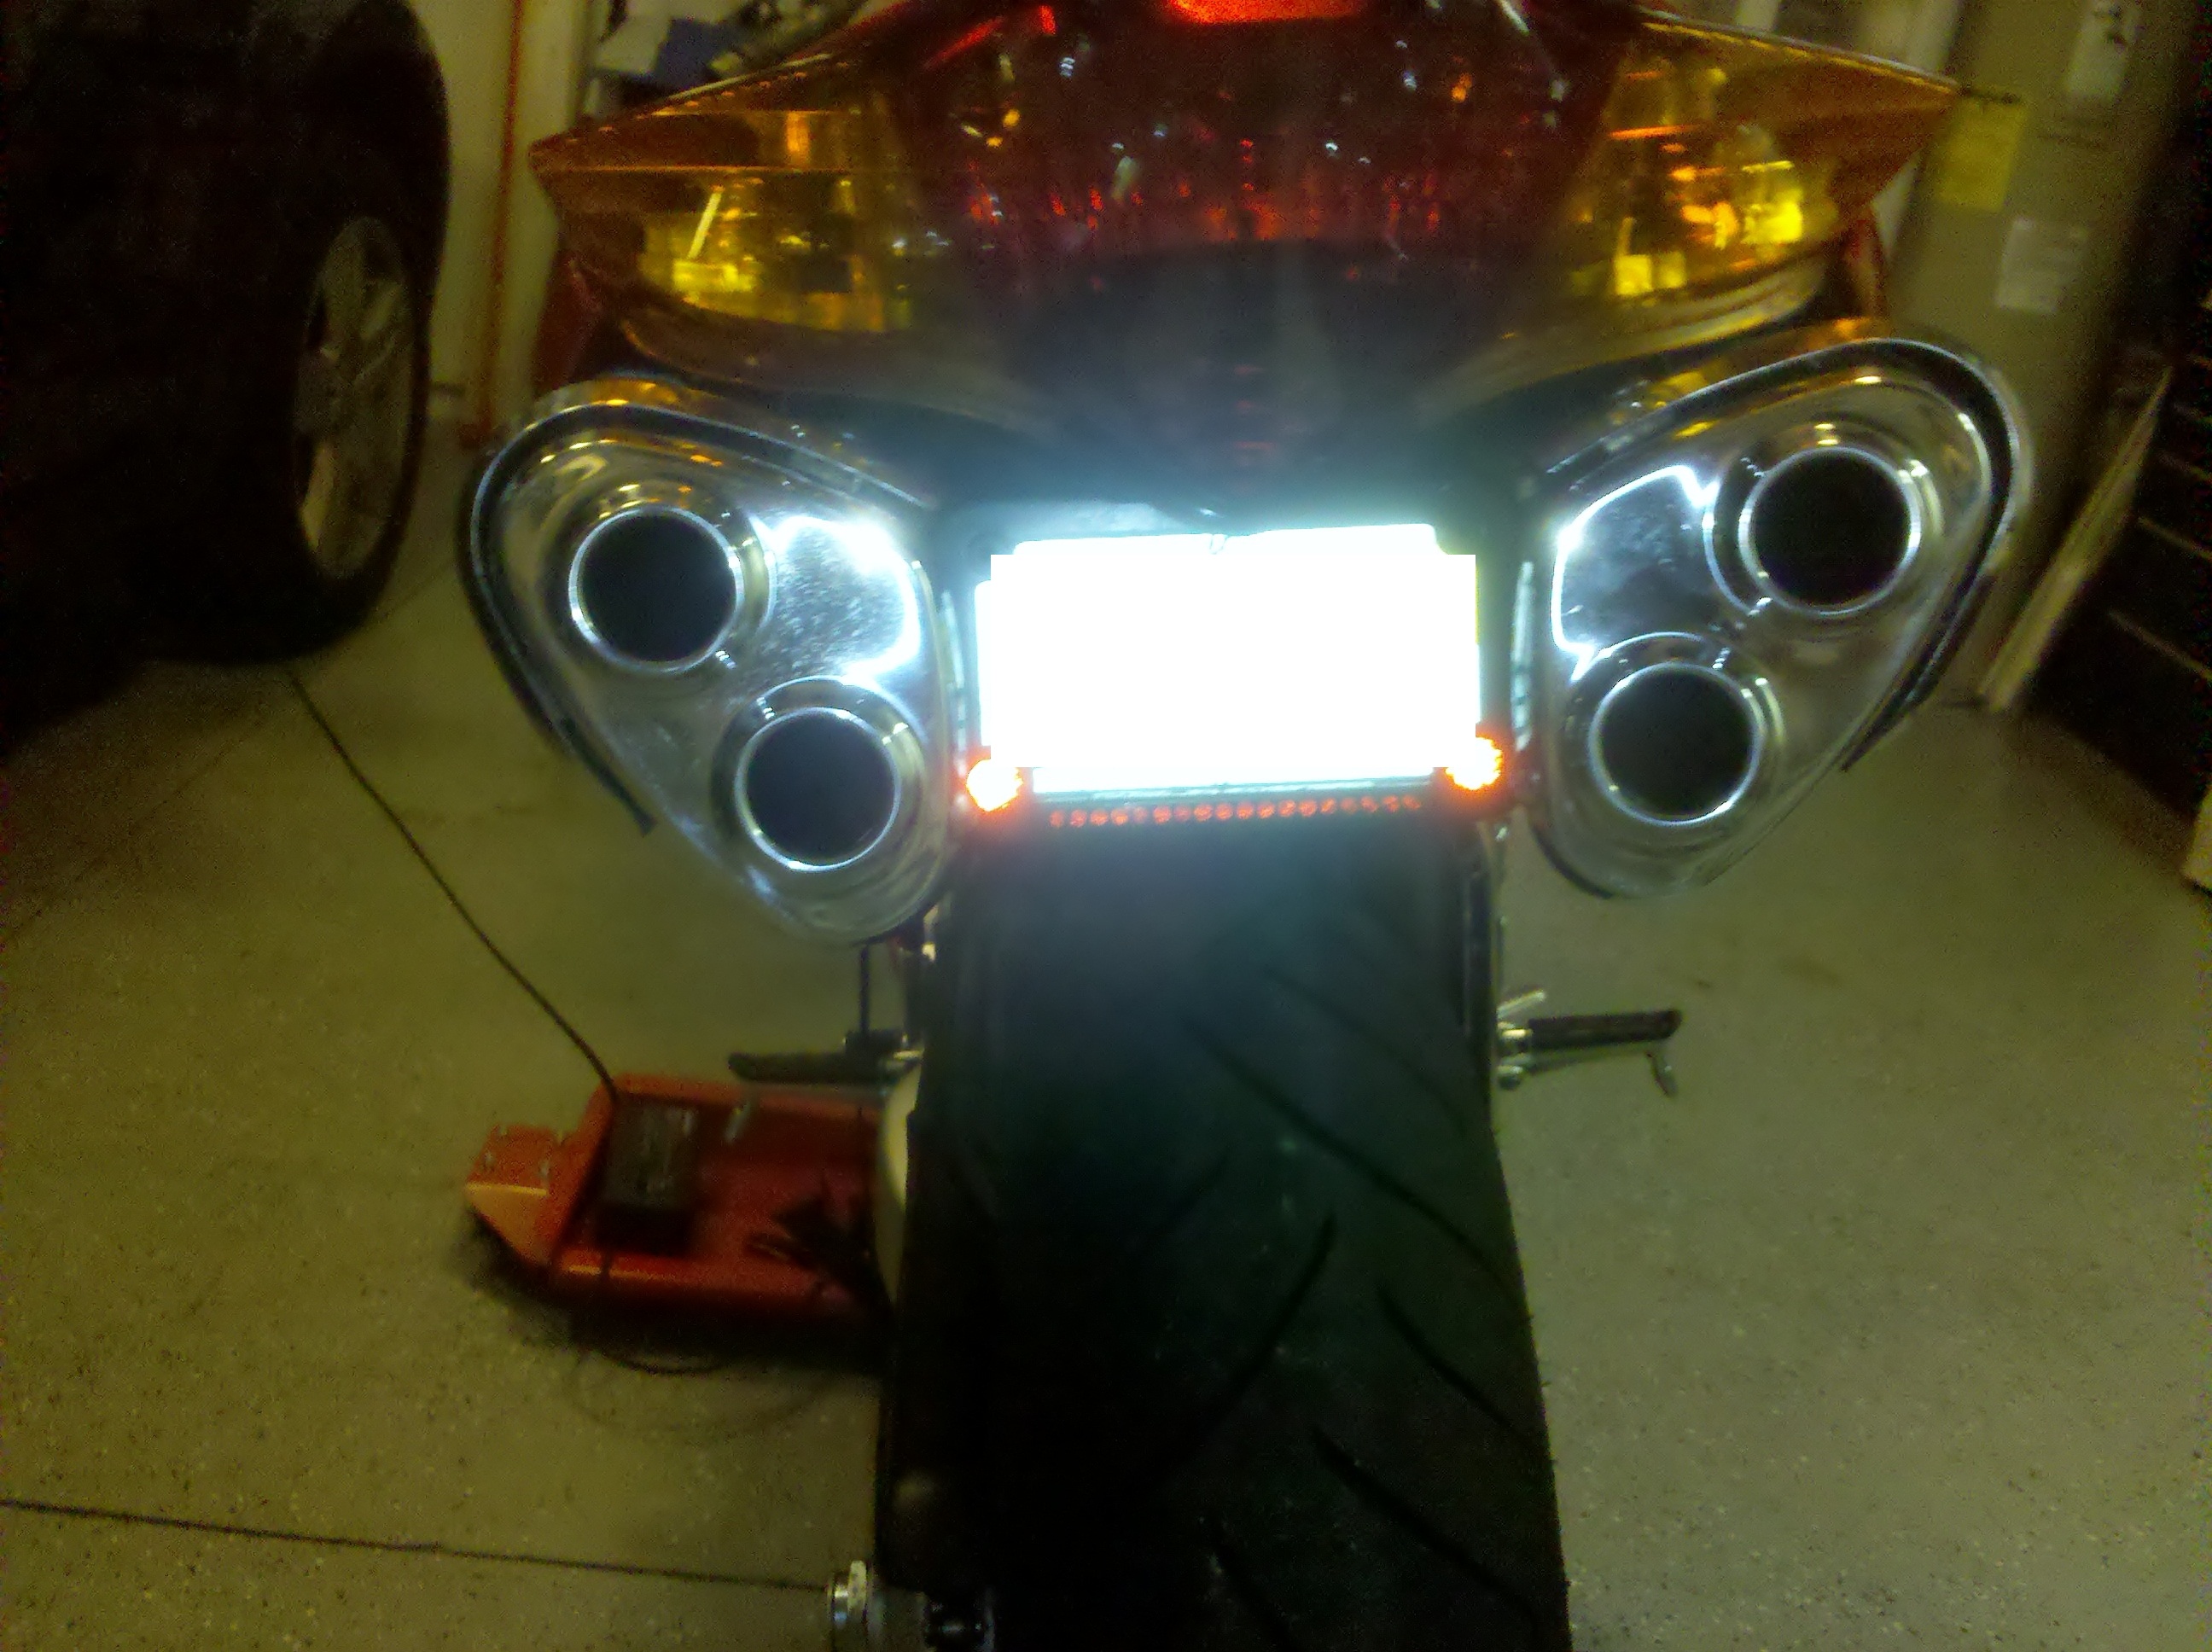
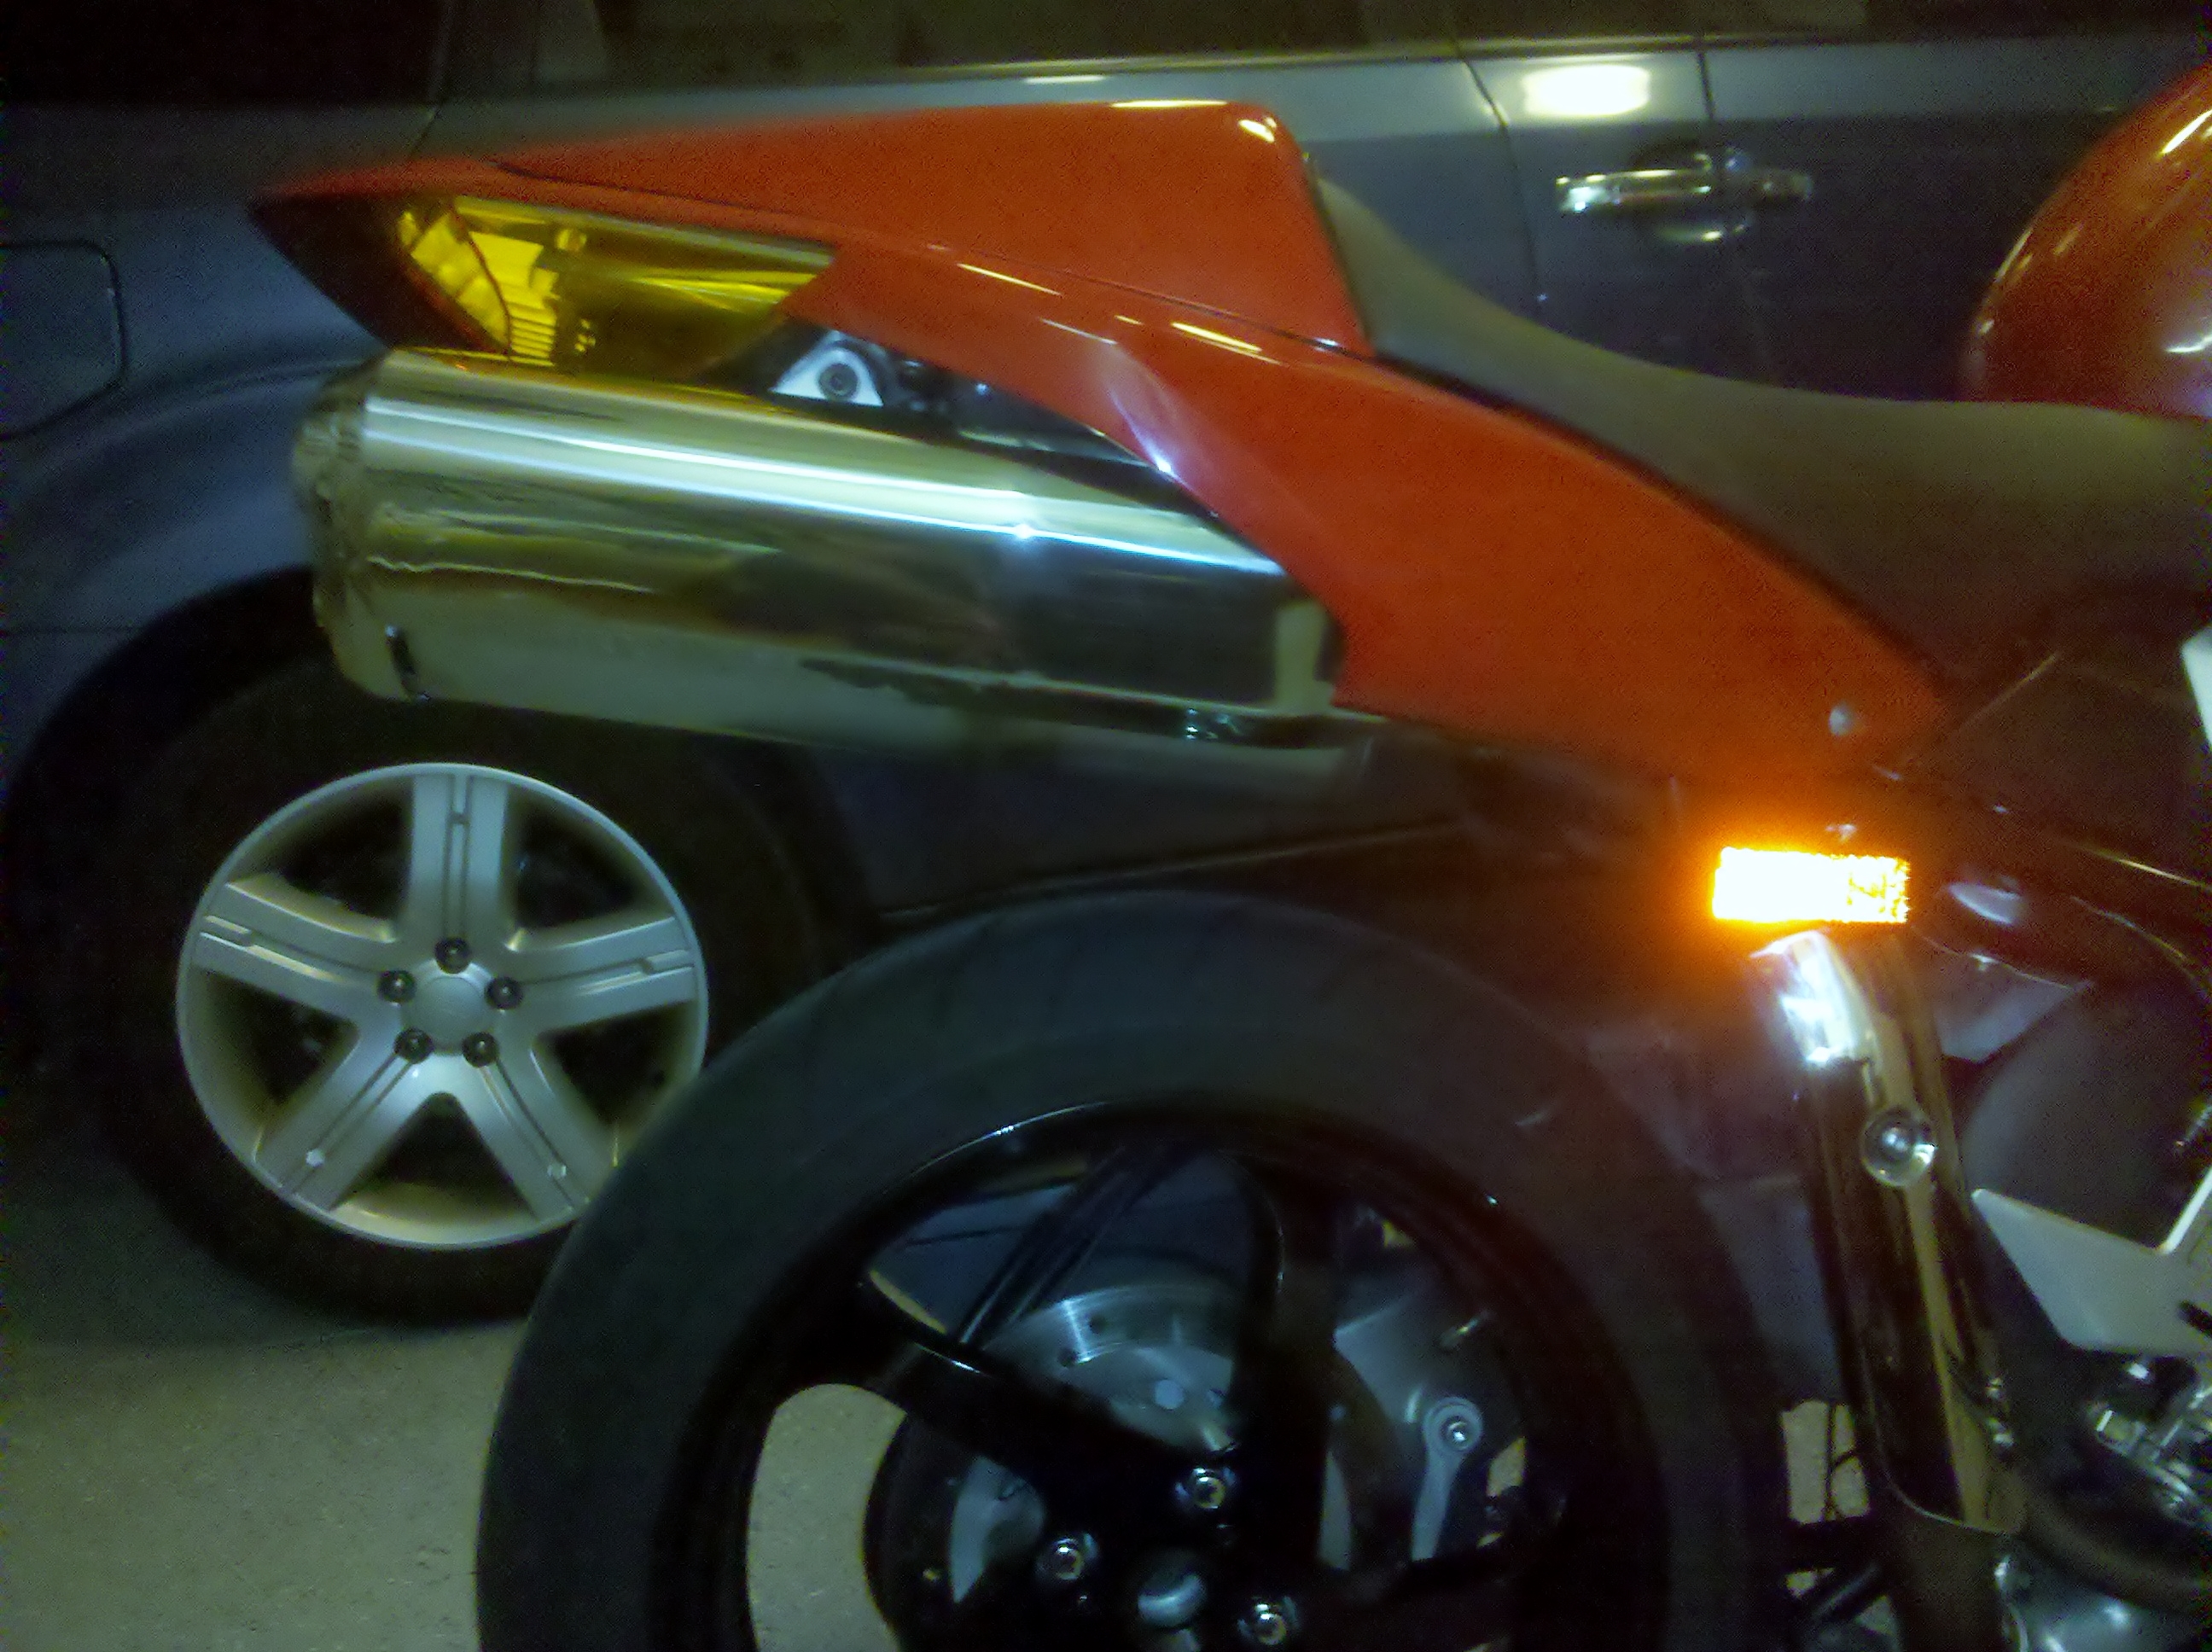
I don't ride two up anymore so I thought some cosmetic adjustments should be made. Our VFRs come with the passenger seat cover and passenger grab rail mount covers. Simply remove the passenger grab rails if they are on and replace them with the color matched caps that came with the bike. Put the passenger seat cover on. Next remove the passenger foot pegs. If you have an ABS model you will need to remove the damping adjustment knob bracket and remove the rear fairing bolt just above; then pull the fairing out a little and tuck the adjustment knob away in the rear fairing (see pictures). Now you will need to move the side reflectors from the mud flap to the holes where the passenger foot peg brackets connected to the rear frame. Now the side looks much nicer and you can clearly see that beautiful single sided swing arm. Now to clean up the back. You will need an adhesive white LED flexible light strip from AutoZone. Disconnect the license plate light wiring harness and remove the mud flap. Using the existing most inward mud flap mount holes use two wide adjustable "L" brackets (car stereo universal mount type are easiest to use and offer lateral adjustment or just bend ones from Lowes) with some bolts, washers, and lock nuts to make the plate mount. If you have a plate frame it helps to support the plate. I used bolt reflectors to eliminate the rear reflector, you may add a small bracket from the plate to attach the larger original reflector should you so desire. Next clean the rear pan above the plate with rubbing alcohol or Windex and stick the LED to it just in front of the plate; run the wires up through the other mounting hole and zip tie or tape as needed to secure. Connect the LED strip leads to the license plate light wiring harness and you are done. Total Time:
1 Hour
|
All trademarks and copyrights are the property of their respective owners.
Copyright © 1994 - 2018, all rights reserved.